
Series: Kubernetes at home
- Kubernetes at home - Part 1: The hardware - January 02, 2021
- Kubernetes at home - Part 2: The install - January 05, 2021
- Kubernetes at home - Part 3: HAProxy Ingress - January 05, 2021
- Kubernetes at home - Part 4: DNS and a certificate with HAProxy Ingress - January 07, 2021
Kubernetes at home - Part 5: Keycloak for authentication - January 16, 2021
- Kubernetes at home - Part 6: Keycloak authentication and Azure Active Directory - January 17, 2021
- Kubernetes at home - Part 7: Grafana, Prometheus, and the beginnings of monitoring - January 26, 2021
- Kubernetes at home - Part 8: MinIO initialization - March 01, 2021
- Kubernetes at home - Part 9: Minecraft World0 - April 24, 2021
- Kubernetes at home - Part 10: Wiping the drives - May 09, 2021
- Kubernetes at home - Part 11: Trying Harvester and Rancher on the bare metal server - May 29, 2021
- Kubernetes at home - Part 12: Proxmox at home - December 23, 2021
Kubernetes at home - Part 5: Keycloak for authentication
For this part 5, I decided to try getting Keycloak installed in Kubernetes for identity and access management.
I know there’s a Keycloak Kubernetes Operator, but I don’t particularly think I need most of those features and that added complexity. Instead, I’m starting with Bitnami’s helm chart
daniel@bequiet:~$ helm repo add bitnami https://charts.bitnami.com/bitnami
"bitnami" has been added to your repositories
Having added the repo to my local helm, I’m having trouble going through every configuration option, so I’m going to throw all the values into a local values file where I’ll pick and choose what to change.
daniel@bequiet:~$ helm show values bitnami/keycloak > values.yaml
Persistence
But before I start changing default chart values, I’m going to create a namespace, and a PersistenceVolumeClaim.
daniel@bequiet:~$ kubectl create namespace keycloak
namespace/keycloak created

daniel@bequiet:~$ kubectl apply -f keycloak-persistence.yaml
persistentvolume/keycloak-postgres-pv-volume created
persistentvolumeclaim/keycloak-postgres-pv-volume-claim created
At the moment, I’m being very particular about storage on my local single-node cluster. I have a set of expectations around paths that make for convenient periodic backups, but that’ll be covered in a post sometime later.
keycloak-persistence.yaml
apiVersion: v1
kind: PersistentVolume
metadata:
  name: keycloak-postgres-pv-volume
  namespace: keycloak
  labels:
    type: local
spec:
  storageClassName: manual
  capacity:
    storage: 10Gi
  accessModes:
    - ReadWriteOnce
  hostPath:
    path: "/media/working/keycloak-volume/postgres"
---
apiVersion: v1
kind: PersistentVolumeClaim
metadata:
  name: keycloak-postgres-pv-volume-claim
  namespace: keycloak
spec:
  storageClassName: manual
  volumeName: keycloak-postgres-pv-volume
  accessModes:
    - ReadWriteOnce
  resources:
    requests:
      storage: 10Gi
Values.yaml
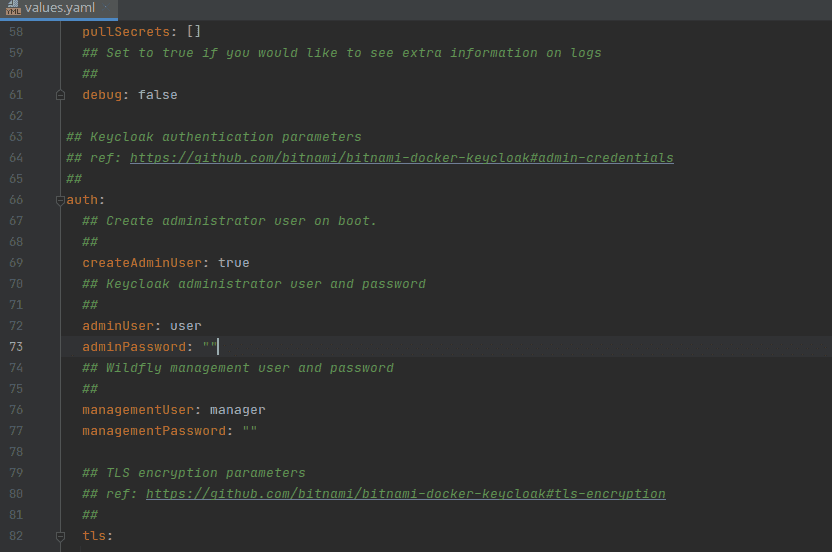
Overriding and setting keycloak values has a few big key things to do right now.
- Set admin user and its password
- Set service type to ClusterIP
- Enable ingress
- Enable certmanager
- Set hostname
- Add annotations for ClusterIssuer, HAProxy, and IngressClass
- Enable TLS
- Set Postgresql admin, password, and PersistentVolumeClaim.
One thing to note for later, is that I might have to revisit if I want to enable Prometheus monitoring later.
## Keycloak authentication parameters
## ref: https://github.com/bitnami/bitnami-docker-keycloak#admin-credentials
##
auth:
  ## Create administrator user on boot.
  ##
  createAdminUser: true
  ## Keycloak administrator user and password
  ##
  adminUser: admin
  adminPassword: "replacewithyourpassword"
  ## Wildfly management user and password
  ##
  managementUser: wildfly-admin
  managementPassword: "replacewithyourpassword"
## Service configuration
##
service:
  ## Service type.
  ##
  type: ClusterIP
## Ingress configuration
##
ingress:
  ## Set to true to enable ingress record generation
  ##
  enabled: true
  ## Set this to true in order to add the corresponding annotations for cert-manager
  ##
  certManager: true
  ## When the ingress is enabled, a host pointing to this will be created
  ##
  hostname: key.yourdomain.dev
  ## Override API Version (automatically detected if not set)
  ##
  apiVersion:
  ## Ingress Path
  ##
  path: /
  ## Ingress Path type
  ##
  pathType: ImplementationSpecific
  annotations:
    cert-manager.io/cluster-issuer: yourdomaindev-clusterissuer
    kubernetes.io/ingress.class: haproxy
    haproxy.org/forwarded-for: "true"
  tls: true
##
## PostgreSQL chart configuration
## ref: https://github.com/bitnami/charts/blob/master/bitnami/postgresql/values.yaml
##
postgresql:
  ## Whether to deploy a postgresql server to satisfy the applications database requirements. To use an external database set this to false and configure the externalDatabase parameters
  ##
  enabled: true
  ## PostgreSQL user (has superuser privileges if username is `postgres`)
  ## ref: https://github.com/bitnami/bitnami-docker-postgresql/blob/master/README.md#setting-the-root-password-on-first-run
  ##
  postgresqlUsername: admin
  ## PostgreSQL password
  ## Defaults to a random 10-character alphanumeric string if not set
  ## ref: https://github.com/bitnami/bitnami-docker-postgresql/blob/master/README.md#setting-the-root-password-on-first-run
  ##
  postgresqlPassword: replacewithyourpassword
  ## Database name to create
  ## ref: https://github.com/bitnami/bitnami-docker-postgresql/blob/master/README.md#creating-a-database-on-first-run
  ##
  postgresqlDatabase: bitnami_keycloak
  ## PostgreSQL data Persistent Volume Storage Class
  ##
  persistence:
    enabled: true
    existingClaim: keycloak-postgres-pv-volume-claim
## An array to add extra env vars
extraEnvVars:
   - name: KEYCLOAK_FRONTEND_URL
     value: https://key.yourdomain.dev/auth
   - name: KEYCLOAK_PROXY_ADDRESS_FORWARDING
     value: "true"
Install
Install with Helm
daniel@bequiet:~$ helm install keycloak bitnami/keycloak --namespace keycloak --values values.yaml
NAME: keycloak
LAST DEPLOYED: Sat Jan 16 14:14:44 2021
NAMESPACE: keycloak
STATUS: deployed
REVISION: 1
TEST SUITE: None
NOTES:
** Please be patient while the chart is being deployed **

Keycloak can be accessed through the following DNS name from within your cluster:

    keycloak.keycloak.svc.cluster.local (port 80)

To access Keycloak from outside the cluster execute the following commands:

1. Get the Keycloak URL and associate its hostname to your cluster external IP:

   export CLUSTER_IP=$(minikube ip) # On Minikube. Use: `kubectl cluster-info` on others K8s clusters
   echo "Keycloak URL: https://key.yourdomain.dev/auth"
   echo "$CLUSTER_IP  key.yourdomain.dev" | sudo tee -a /etc/hosts

2. Access Keycloak using the obtained URL.
3. Access the Administration Console using the following credentials:

  echo Username: youradminuser
  echo Password: $(kubectl get secret --namespace keycloak keycloak-env-vars -o jsonpath="{.data.KEYCLOAK_ADMIN_PASSWORD}" | base64 --decode)
Give Keycloak a minute to get started. The namespace will look something like this after a bit.
daniel@bequiet:~/development/k8s-home$ kubectl get all --namespace keycloak
NAME                        READY   STATUS    RESTARTS   AGE
pod/keycloak-0              1/1     Running   0          24m
pod/keycloak-postgresql-0   1/1     Running   0          24m

NAME                                   TYPE        CLUSTER-IP      EXTERNAL-IP   PORT(S)          AGE
service/keycloak                       ClusterIP   10.103.35.215   <none>        80/TCP,443/TCP   24m
service/keycloak-headless              ClusterIP   None            <none>        80/TCP           24m
service/keycloak-postgresql            ClusterIP   10.96.12.152    <none>        5432/TCP         24m
service/keycloak-postgresql-headless   ClusterIP   None            <none>        5432/TCP         24m

NAME                                   READY   AGE
statefulset.apps/keycloak              1/1     24m
statefulset.apps/keycloak-postgresql   1/1     24m
Keycloak login
Now open the hostname in a browser. TLS seems to have been supplied fairly well by CertificateManager.
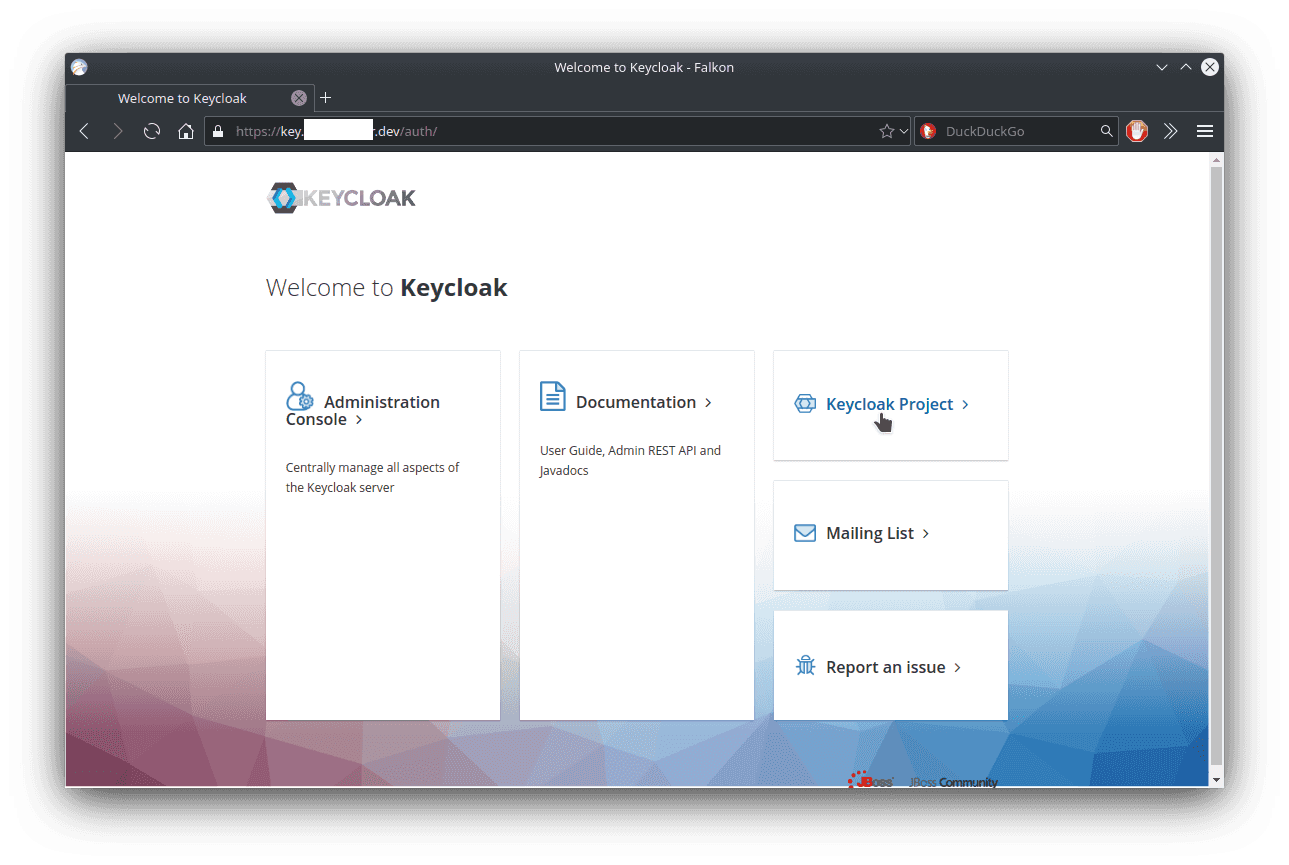
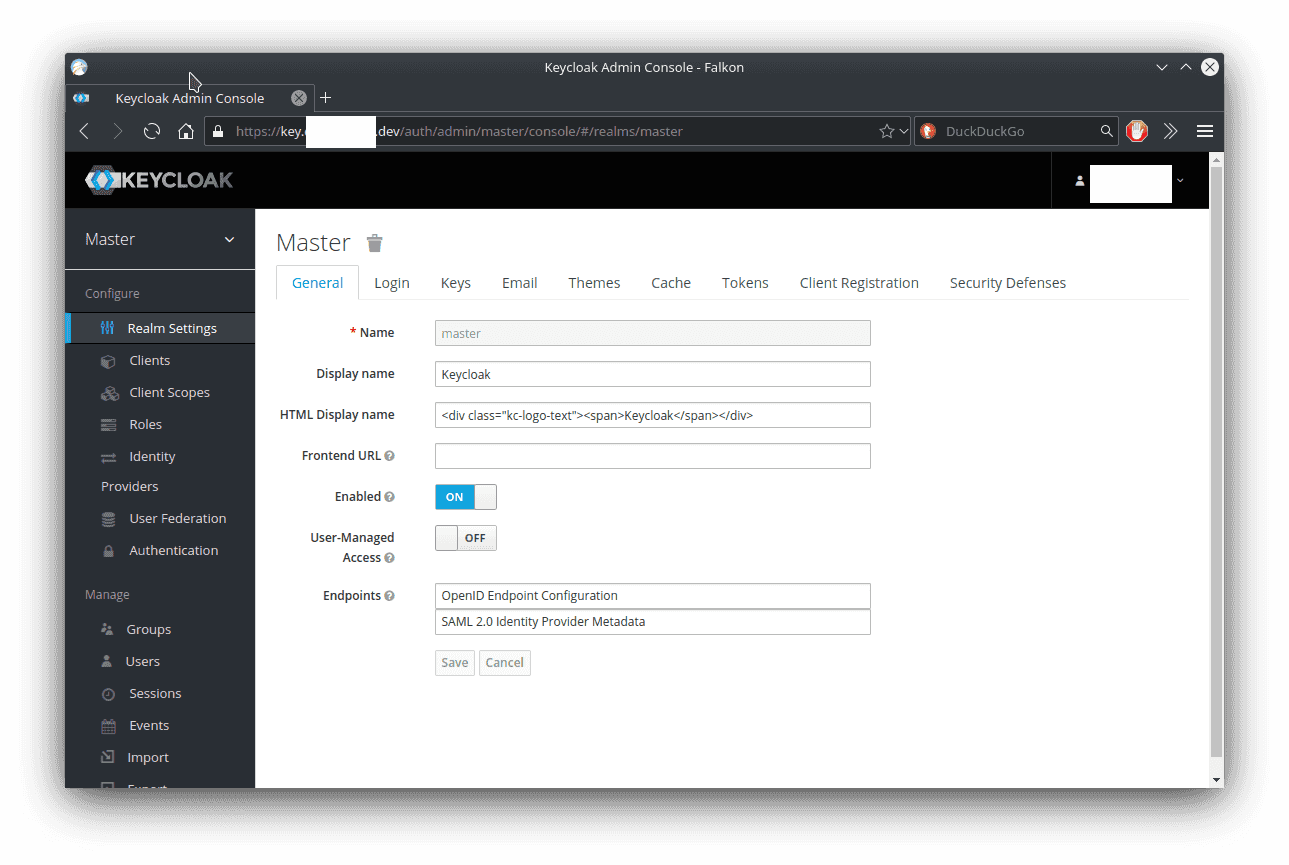
On the left side is a link to the Administration console, let’s click on that and login with the admin user and password.
Summary
Keycloak is installed. I hope to use it as a basis for authentication throughout most of my applications.
Mistakes
2021-01-26 I forgot to show the StorageClass above.
apiVersion: storage.k8s.io/v1
kind: StorageClass
metadata:
   name: manual
provisioner: kubernetes.io/no-provisioner
volumeBindingMode: WaitForFirstConsumer
reclaimPolicy: RetainSeries: Kubernetes at home
- Kubernetes at home - Part 1: The hardware - January 02, 2021
- Kubernetes at home - Part 2: The install - January 05, 2021
- Kubernetes at home - Part 3: HAProxy Ingress - January 05, 2021
- Kubernetes at home - Part 4: DNS and a certificate with HAProxy Ingress - January 07, 2021
Kubernetes at home - Part 5: Keycloak for authentication - January 16, 2021
- Kubernetes at home - Part 6: Keycloak authentication and Azure Active Directory - January 17, 2021
- Kubernetes at home - Part 7: Grafana, Prometheus, and the beginnings of monitoring - January 26, 2021
- Kubernetes at home - Part 8: MinIO initialization - March 01, 2021
- Kubernetes at home - Part 9: Minecraft World0 - April 24, 2021
- Kubernetes at home - Part 10: Wiping the drives - May 09, 2021
- Kubernetes at home - Part 11: Trying Harvester and Rancher on the bare metal server - May 29, 2021
- Kubernetes at home - Part 12: Proxmox at home - December 23, 2021