My first MicroK8s cluster on Raspberry Pi
I have acquired some Raspberry Pis. One version 4, and two version 3. The following is the highlighted steps that I’ve taken to set them up, so I have a future cheat-sheet to look back on.
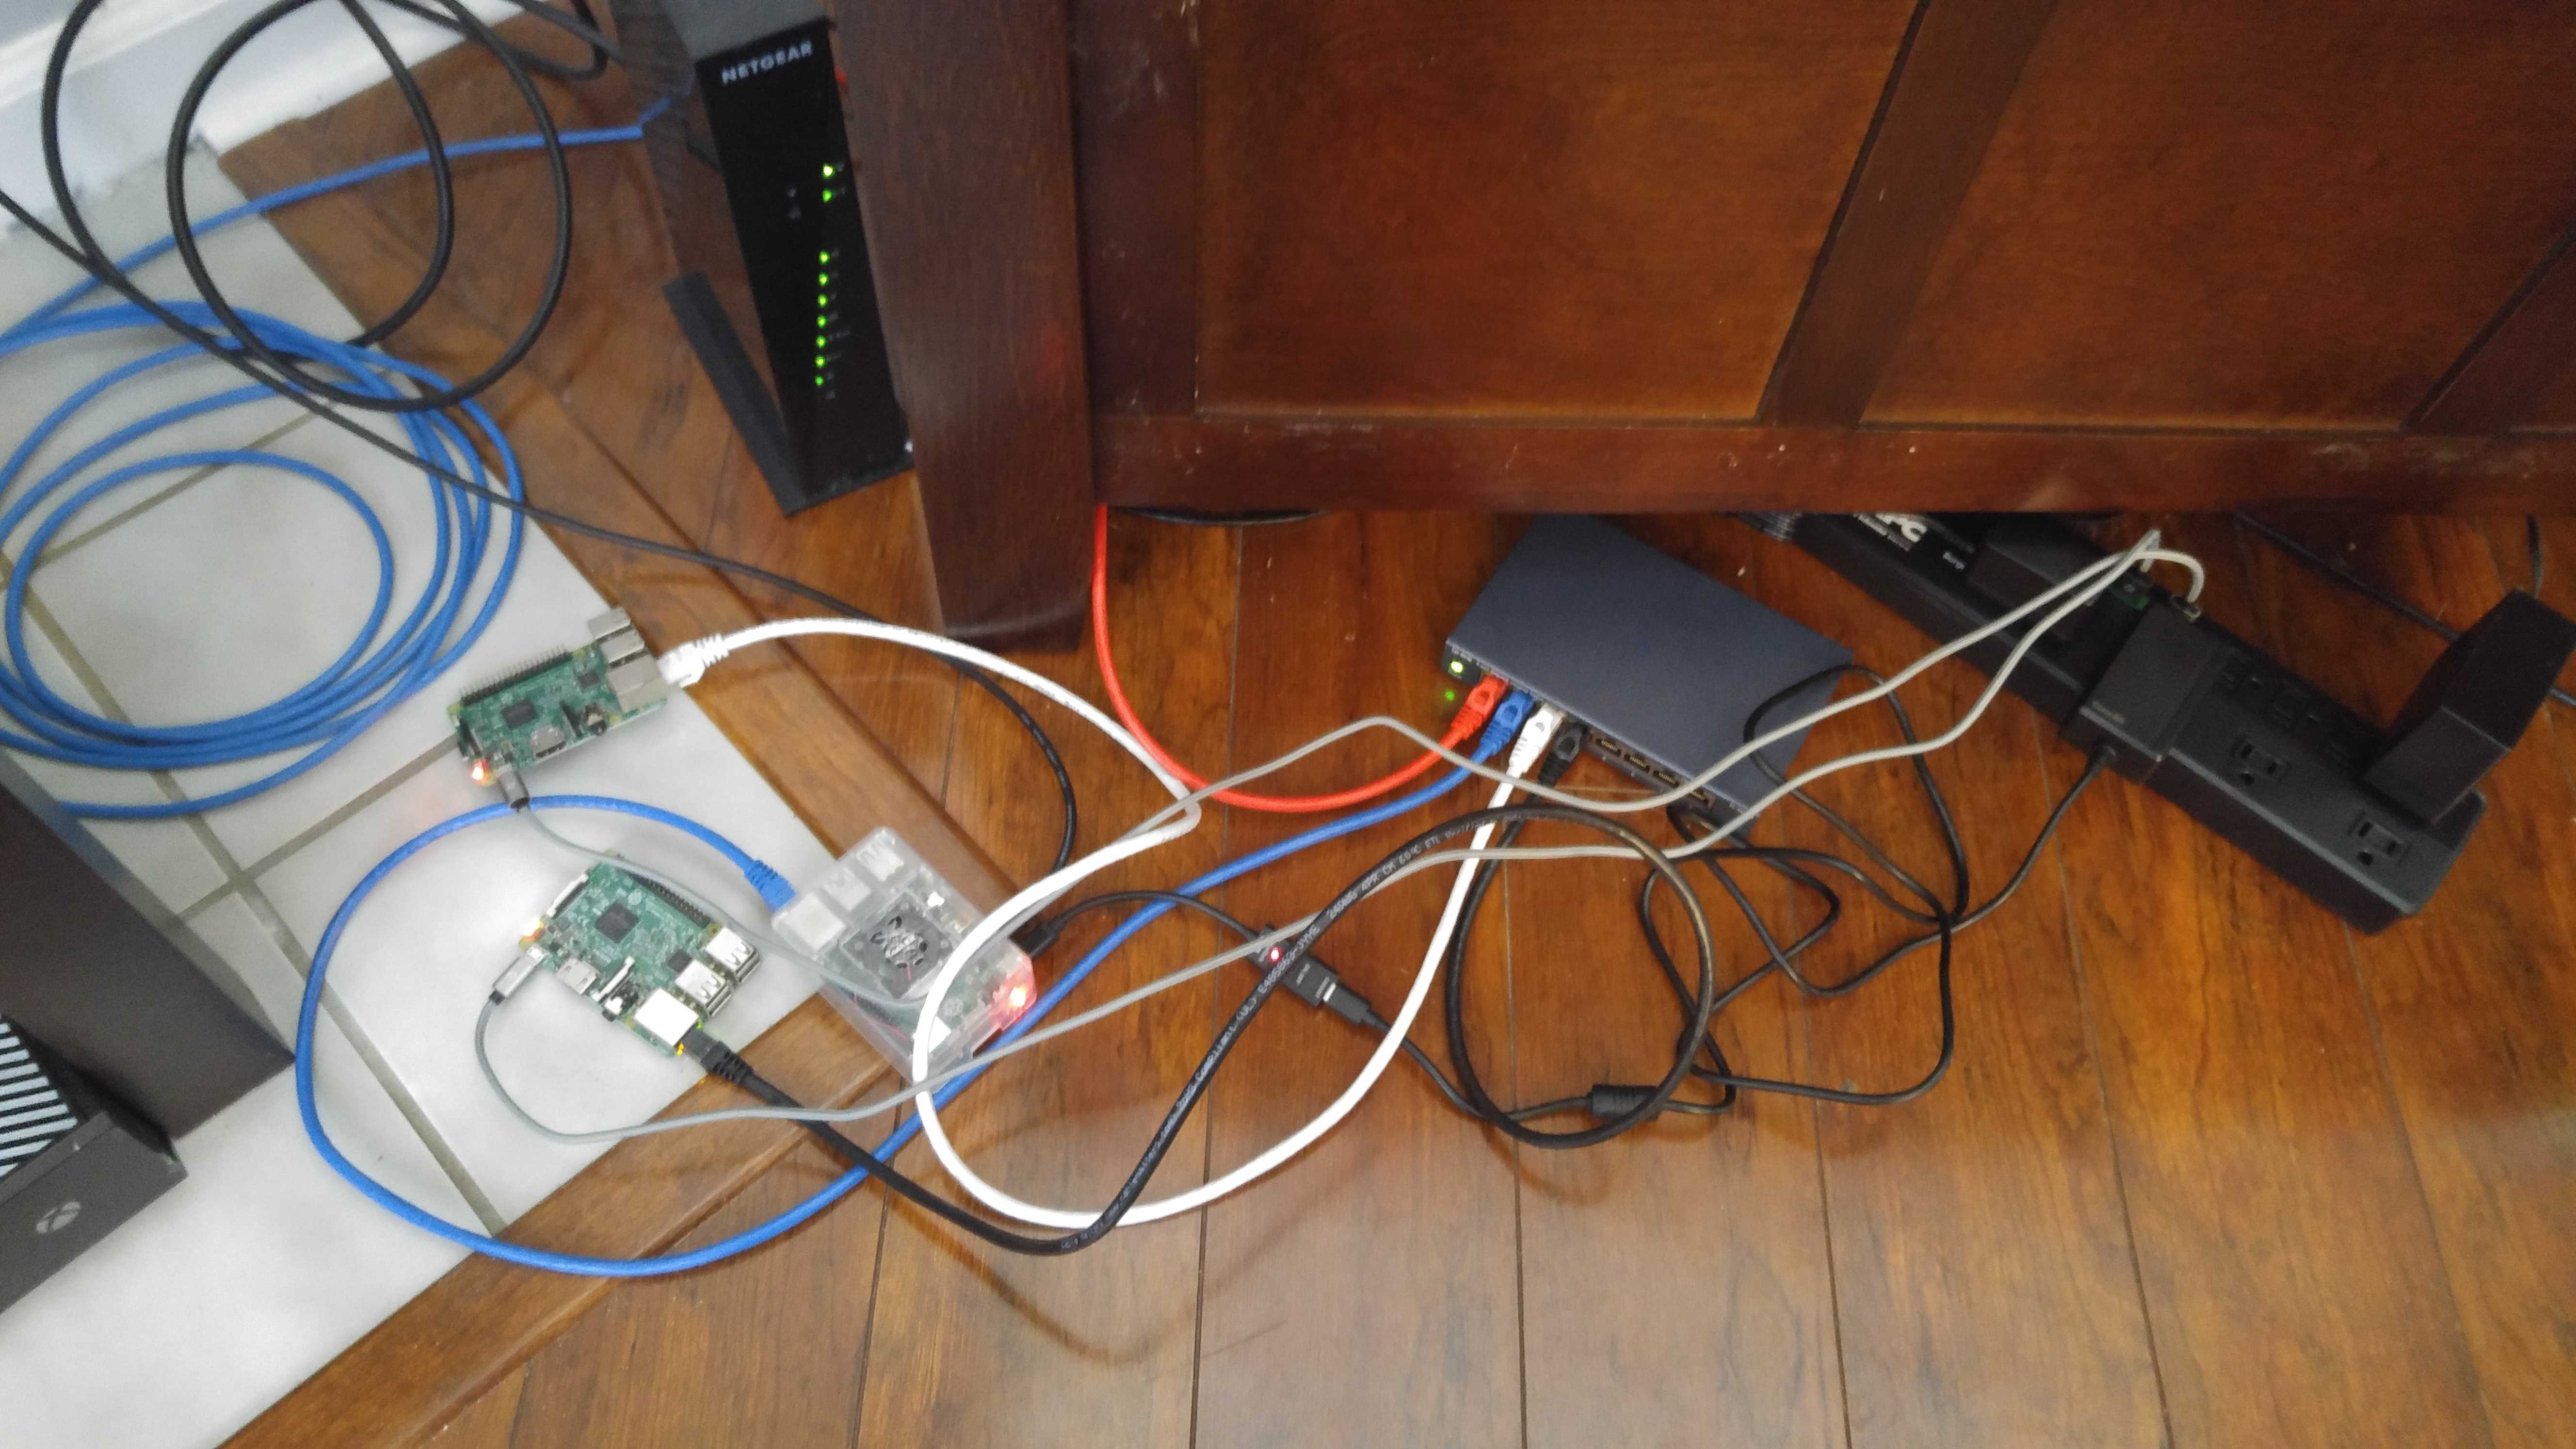
The rest of the hardware acquired is the cheapest network switch I could find (it was on sale), a few ethernet cords, a few USB cords, and a few 32GB microsd cards. Nothing special.
Installing Ubuntu
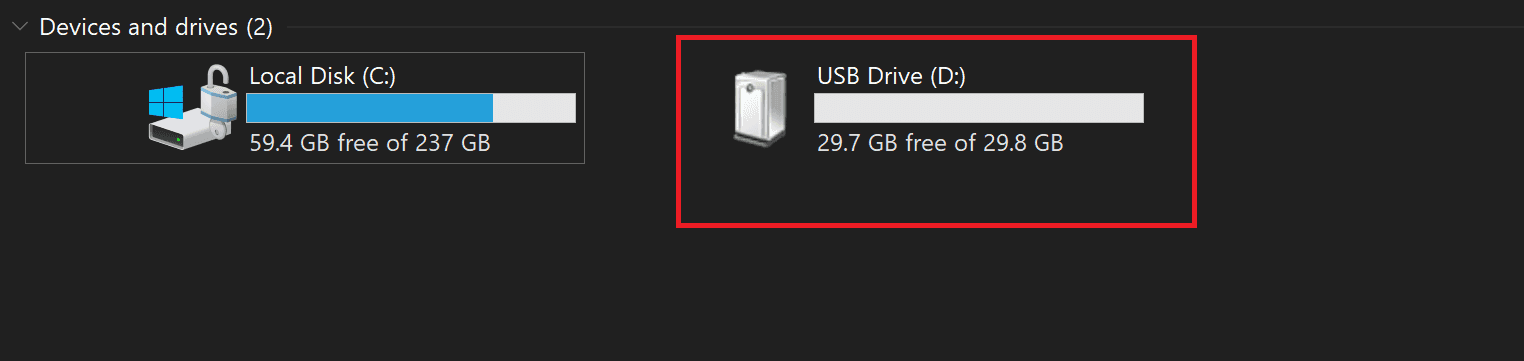
I’m currently working on a Windows 10 Pro machine. Once I insert the new microsd card into the reader, I see it on the list of drives.
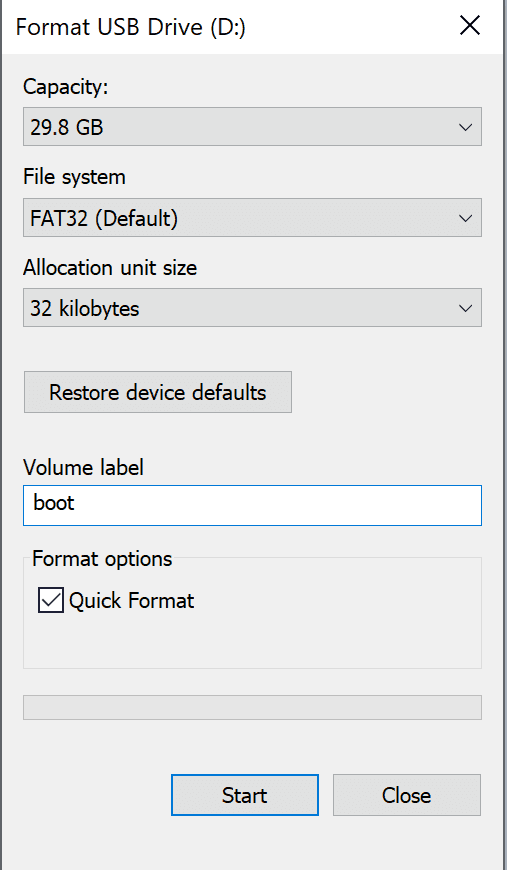
I can right click and format the SD Card to make sure it’s ready.
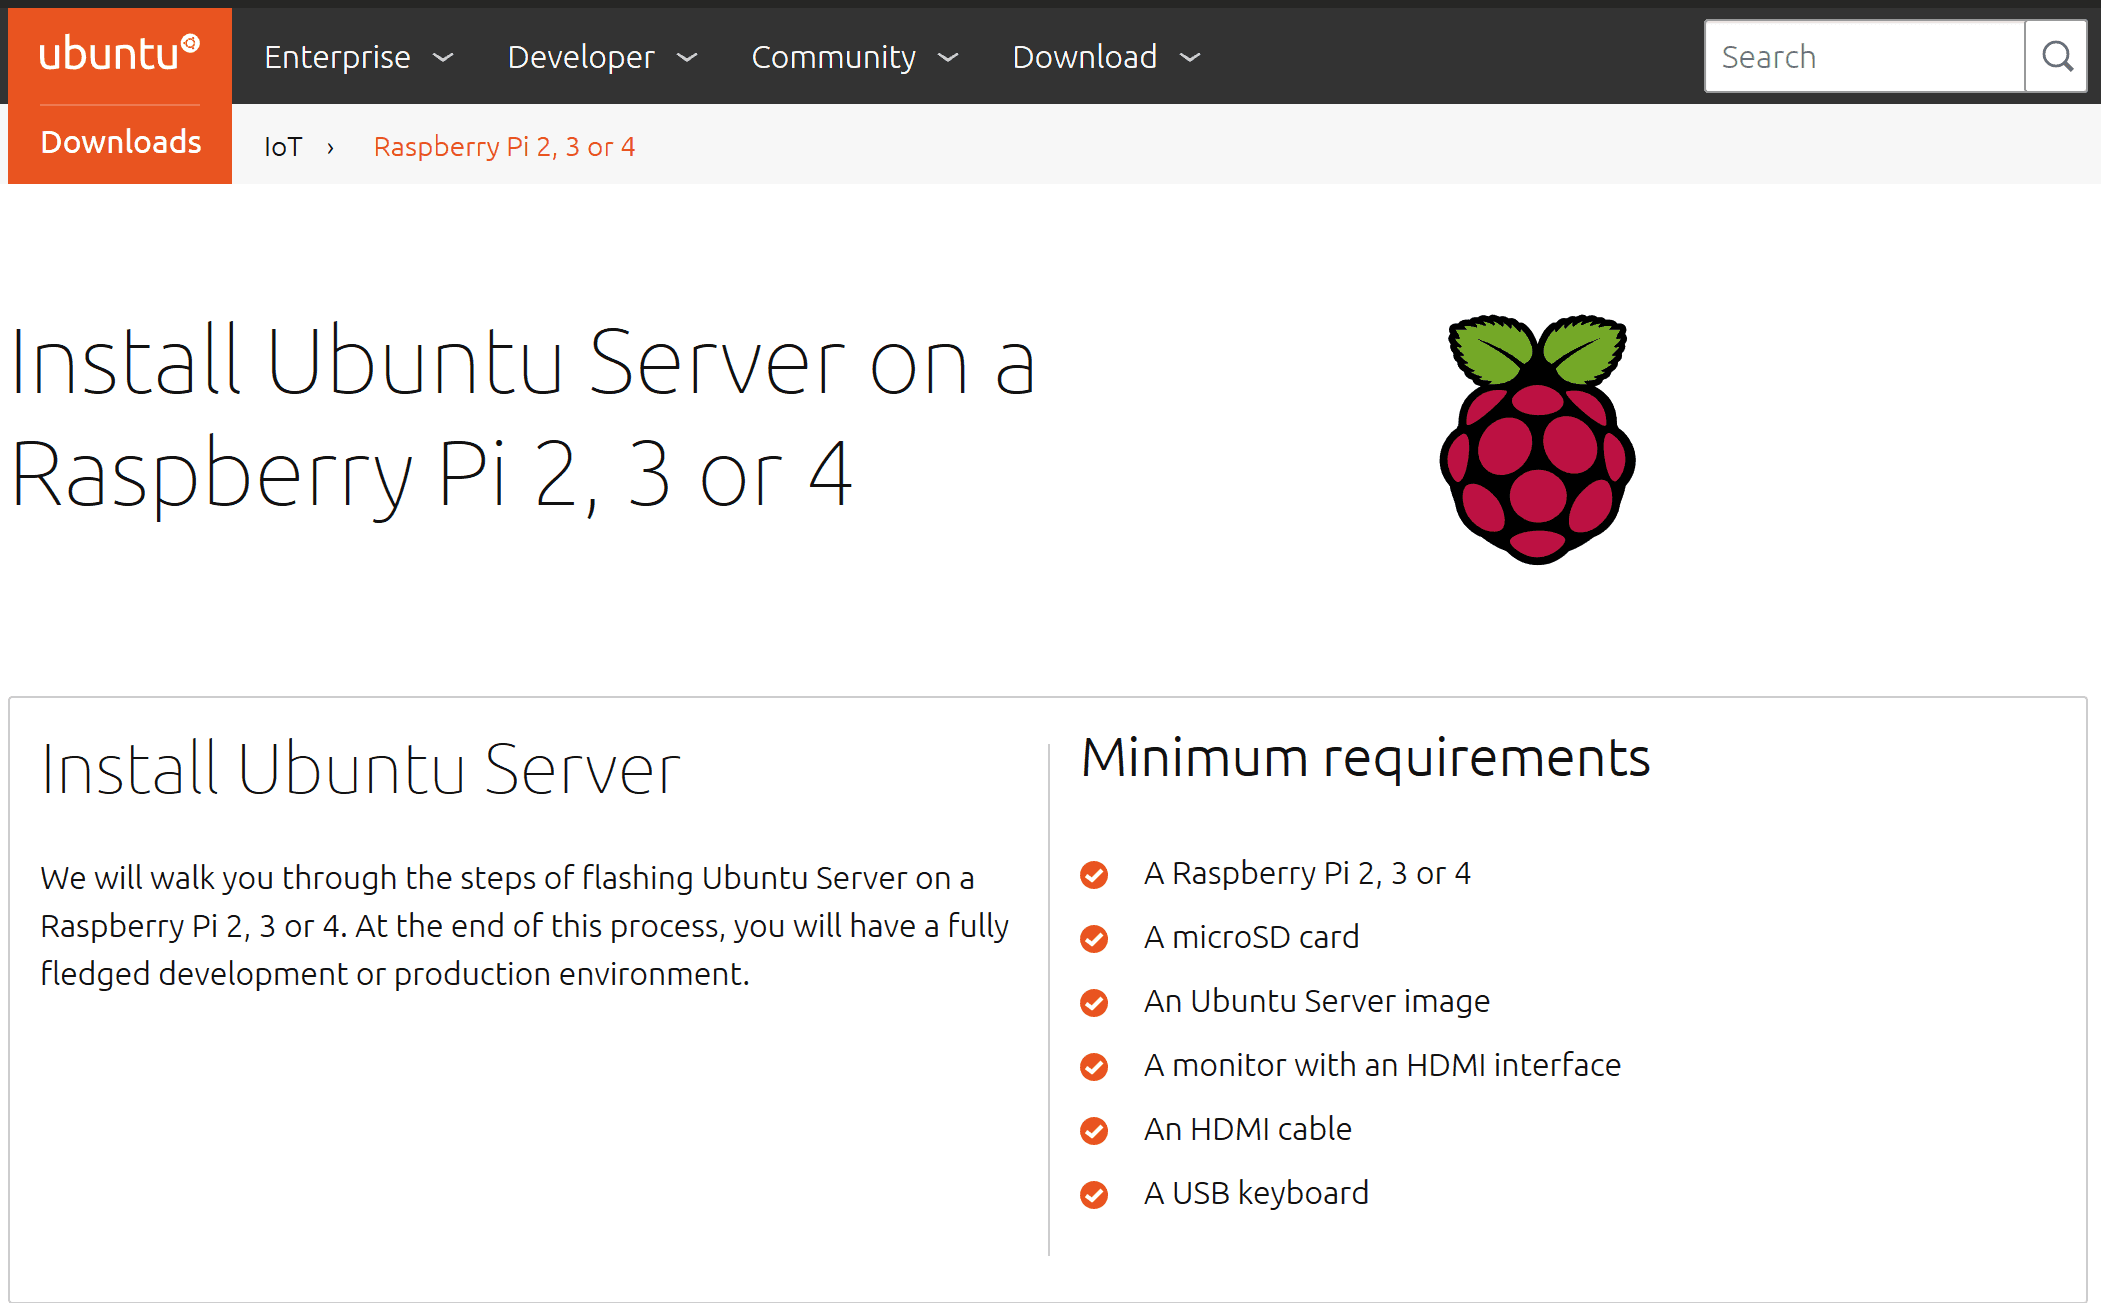
I intend to be installing Ubuntu Server 19.10 because I’m fine with rolling a non-LTS on a playground server. Download is here.
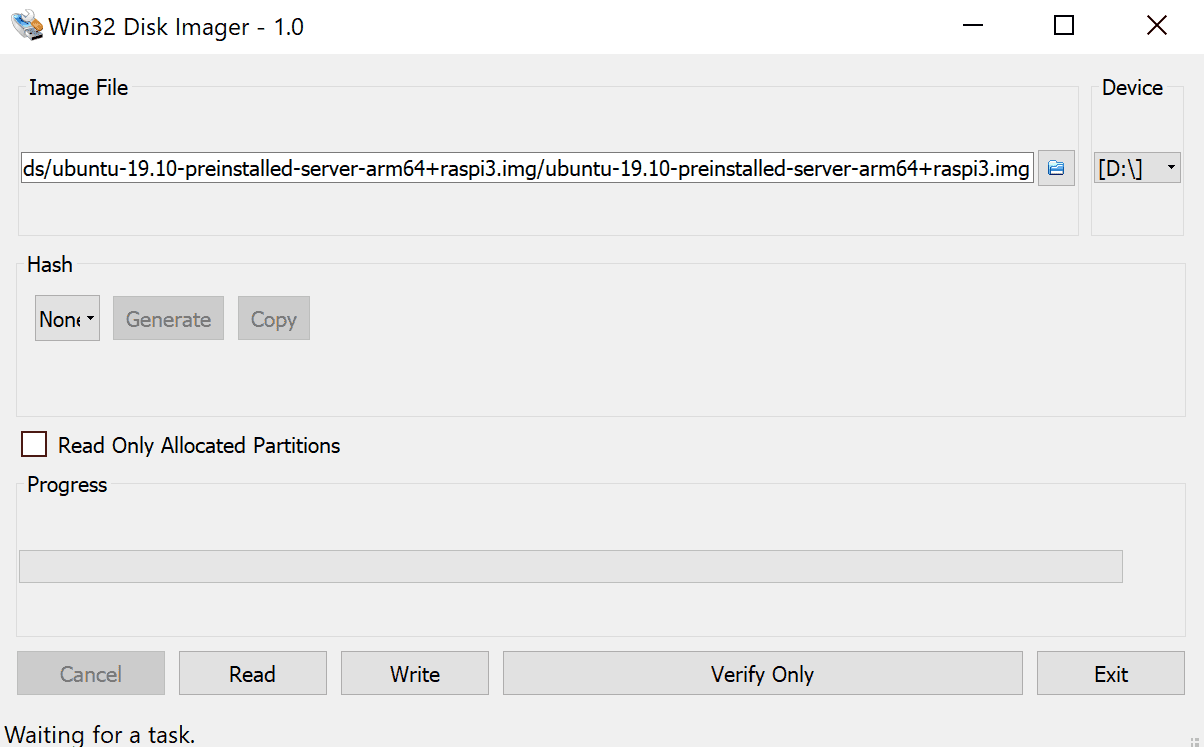
Once the image is downloaded, I write it to the microsd card using Win32 Disk Imager.
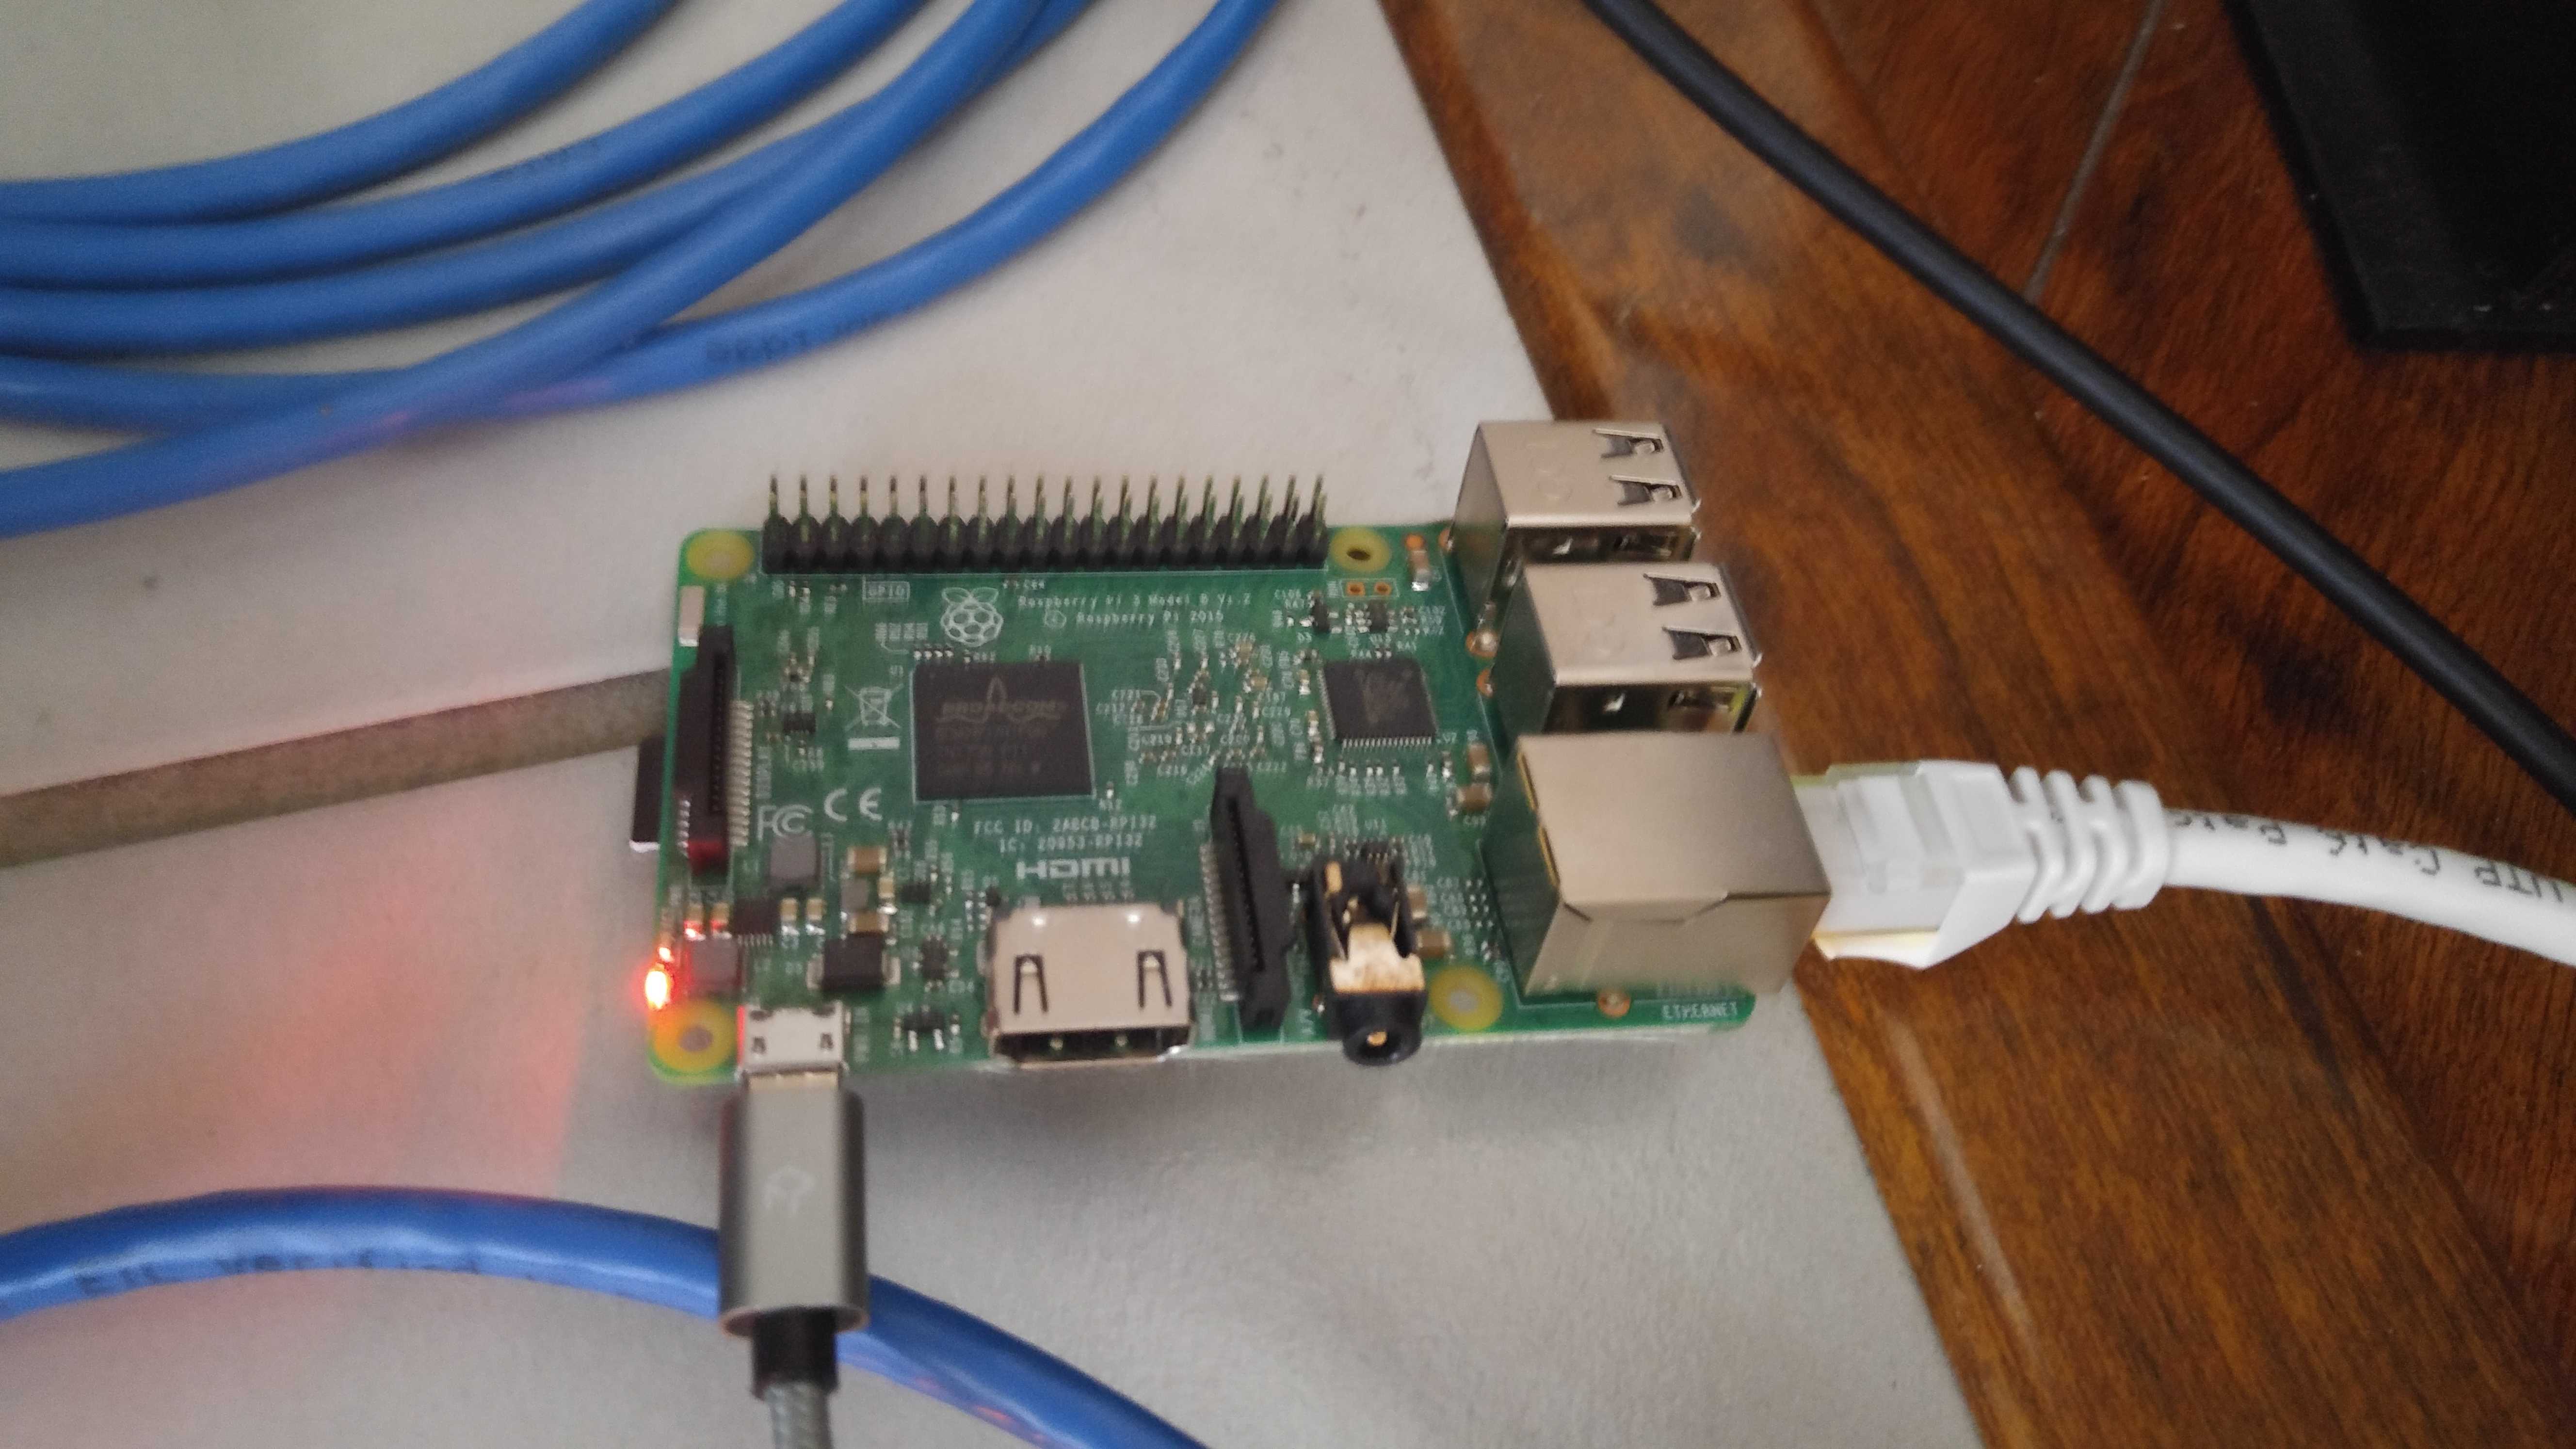
Go ahead and insert the microsd card into the Raspberry Pi and plug it in.
Now there is one problem. I couldn’t get Ubuntu 19.10 on Raspberry Pi to recognize any keyboards, perhaps related to this bug report.
I’m not sure. I didn’t really spend a lot of time figuring it out.
Instead, I went and looked what new devices were on my network.

Using that address, I can SSH to it using WSL (Windows Subsystem for Linux). The first login has user “ubuntu” and password “ubuntu”, and then requests a password change for that user.
$ ssh ubuntu@192.168.0.38
The authenticity of host '192.168.0.38 (192.168.0.38)' can't be established.
ECDSA key fingerprint is SHA256:<redacted>.
Are you sure you want to continue connecting (yes/no)? yes
Warning: Permanently added '192.168.0.38' (ECDSA) to the list of known hosts.
ubuntu@192.168.0.38's password:
You are required to change your password immediately (administrator enforced)
Welcome to Ubuntu 19.10 (GNU/Linux 5.3.0-1007-raspi2 aarch64)

 * Documentation:  https://help.ubuntu.com
 * Management:     https://landscape.canonical.com
 * Support:        https://ubuntu.com/advantage

  System information as of Sun Nov 17 18:31:48 UTC 2019

  System load:  2.13              Processes:           130
  Usage of /:   8.4% of 29.05GB   Users logged in:     0
  Memory usage: 40%               IP address for eth0: 192.168.0.38
  Swap usage:   0%

 * Kata Containers are now fully integrated in Charmed Kubernetes 1.16!
   Yes, charms take the Krazy out of K8s Kata Kluster Konstruction.

     https://ubuntu.com/kubernetes/docs/release-notes

18 updates can be installed immediately.
11 of these updates are security updates.
To see these additional updates run: apt list --upgradable


The programs included with the Ubuntu system are free software;
the exact distribution terms for each program are described in the
individual files in /usr/share/doc/*/copyright.

Ubuntu comes with ABSOLUTELY NO WARRANTY, to the extent permitted by
applicable law.

WARNING: Your password has expired.
You must change your password now and login again!
Changing password for ubuntu.
Current password:
At this point, change the password and then mess with users and credentials however your preferences are.
Log back into the Raspberry Pi. I like to do a couple steps beginning with the traditional update all packages.
sudo apt updateThen upgrade
sudo apt upgradeI like to change my hostname so I know which machine it is. “pi301” refers to it being a Raspberry Pi 3, and then “01” refers to a zero-based count of how many are on the network. This is the second Pi3 on the network.
sudo hostnamectl set-hostname pi301 --staticOne more thing, is to enable cgroup memory.
To look at what’s enabled, run
cat /proc/cgroupsThe output will look something like this, and the memory row will be “0” for disabled.
#subsys_name    hierarchy       num_cgroups     enabled
cpuset  7       1       1
cpu     5       1       1
cpuacct 5       1       1
blkio   10      1       1
memory  0       96      0
devices 8       87      1
freezer 4       2       1
net_cls 2       1       1
perf_event      9       1       1
net_prio        2       1       1
pids    6       94      1
rdma    3       1       1
Edit the boot firmware nobtcmd.txt (and not cmdline.txt as many places say)
sudo vi /boot/firmware/nobtcmd.txtPrepend the following arguments to whatever is in there.
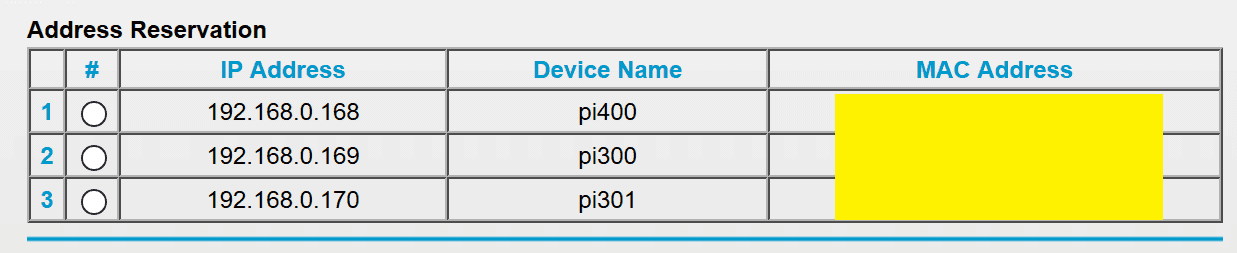
cgroup_enable=memory cgroup_memory=1Optionally, go ahead and give your Raspberry Pi a reserved address on your network. This will vary based on what hardware and management software is running, but it might look something like this.
Now, go ahead and reboot the system
sudo rebootIf everything goes well, you should be able to SSH into the machine at its new address within a minute or two.
Make a quick check on cgroups to make sure that memory is enabled.
cat /proc/cgroupsInstalling MicroK8s
MicroK8s comes as an easy to use Snap package.
$ sudo snap install microk8s --classic
microk8s v1.16.2 from Canonical✓ installed
Letting user run MicroK8s without sudo is done by this command. The user “ubuntu” will be able to run the “microk8s” command with sudo on their next login. This is optional, and your preference.
sudo usermod -a -G microk8s ubuntuLet’s check on MicroK8s and see what’s happening.
sudo microk8s.statusSometimes, if the above command doesn’t respond. There might be something or other wrong. Checking on the kubelet with journalctl is a good place to start looking for info.
journalctl -f -u snap.microk8s.daemon-kubeletAn easy enough debugging step is to run a stop and start.
sudo microk8s.stopsudo microk8s.startLook at the cluster info and make sure it’s up:
$ sudo microk8s.kubectl cluster-info
Kubernetes master is running at https://127.0.0.1:16443

To further debug and diagnose cluster problems, use 'kubectl cluster-info dump'.
Joining a cluster
Joining a cluster is easy. I happen to already have a MicroK8s master node running on the Raspberry Pi 4. So once I ssh into that, I can run a quick command to get enough info to join a worker node (the new Pi 3 setup above)
$ sudo microk8s.add-node
Join node with: microk8s.join 192.168.0.168:25000/< redacted >

If the node you are adding is not reachable through the default interface you can use one of the following:
 microk8s.join 192.168.0.168:25000/< redacted >
 microk8s.join 10.1.23.0:25000/< redacted >
 microk8s.join 10.1.23.1:25000/< redacted >
Run the command on the worker node to add.
sudo microk8s.join 192.168.0.168:25000/< redacted >Dashboard and remote login
Whether you now have a cluster or a single Pi running MicroK8s, let’s add a dashboard to it.
Run this command on the master node to enable these features.
sudo microk8s.enable dashboard dnsNow check on those deployments, of which one seems to be having problems for me.
$ sudo microk8s.kubectl get deployments --all-namespaces
NAMESPACE     NAME                             READY   UP-TO-DATE   AVAILABLE   AGE
kube-system   coredns                          1/1     1            1           13h
kube-system   dashboard-metrics-scraper        0/1     1            0           91m
kube-system   heapster-v1.5.2                  1/1     1            1           91m
kube-system   kubernetes-dashboard             1/1     1            1           91m
kube-system   monitoring-influxdb-grafana-v4   1/1     1            1           91m
So far throughout these steps, I’ve been SSH’d into one machine or another. But now I want to work on this cluster from my own machine without SSH.
Go ahead and install kubectl on your local machine, in whatever installation method appropriate.
In your home directory, there will be a hidden directory called “.kube” (or you might have to make it yourself). Inside this, create a file named “config” and paste the following in.
apiVersion: v1
clusters:
- cluster:
    insecure-skip-tls-verify: true
    server: https://192.168.0.168:16443
  name: raspberrypi
contexts:
- context:
    cluster: raspberrypi
    user: raspberrypiadmin
  name: raspberrypi
current-context: raspberrypi
kind: Config
preferences: {}
users:
- name: raspberrypiadmin
  user:
    password: < redacted password >
    username: admin
To find the password, look on the master node.
ubuntu@pi400:/var/snap/microk8s/current/credentials$ ls
basic_auth.csv       certs-request-tokens.txt         client.config       cluster-tokens.txt.backup  known_tokens.csv  proxy.config
callback-tokens.txt  certs-request-tokens.txt.backup  cluster-tokens.txt  controller.config          kubelet.config    scheduler.config
There are a number of files that detail credential methods. The password method isn’t great, but I’m going to roll with it for the sake of getting up to speed quickly in a playground environment.
ubuntu@pi400:/var/snap/microk8s/current/credentials$ cat basic_auth.csv
< redacted password >,admin,admin,"system:masters"
On your working machine, save the file and run kubectl to see what the current context is.
$ kubectl config current-context
raspberrypi
To test it, let’s see if a command works.
$ kubectl cluster-info
Kubernetes master is running at https://192.168.0.168:16443
Heapster is running at https://192.168.0.168:16443/api/v1/namespaces/kube-system/services/heapster/proxy
CoreDNS is running at https://192.168.0.168:16443/api/v1/namespaces/kube-system/services/kube-dns:dns/proxy
Grafana is running at https://192.168.0.168:16443/api/v1/namespaces/kube-system/services/monitoring-grafana/proxy
InfluxDB is running at https://192.168.0.168:16443/api/v1/namespaces/kube-system/services/monitoring-influxdb:http/proxy

To further debug and diagnose cluster problems, use 'kubectl cluster-info dump'.
On your working machine, run this command to open a proxy.
kubectl proxy --accept-hosts=.* --address=0.0.0.0Now open a browser and go to this address http://127.0.0.1:8001/api/v1/namespaces/kube-system/services/https:kubernetes-dashboard:/proxy/.
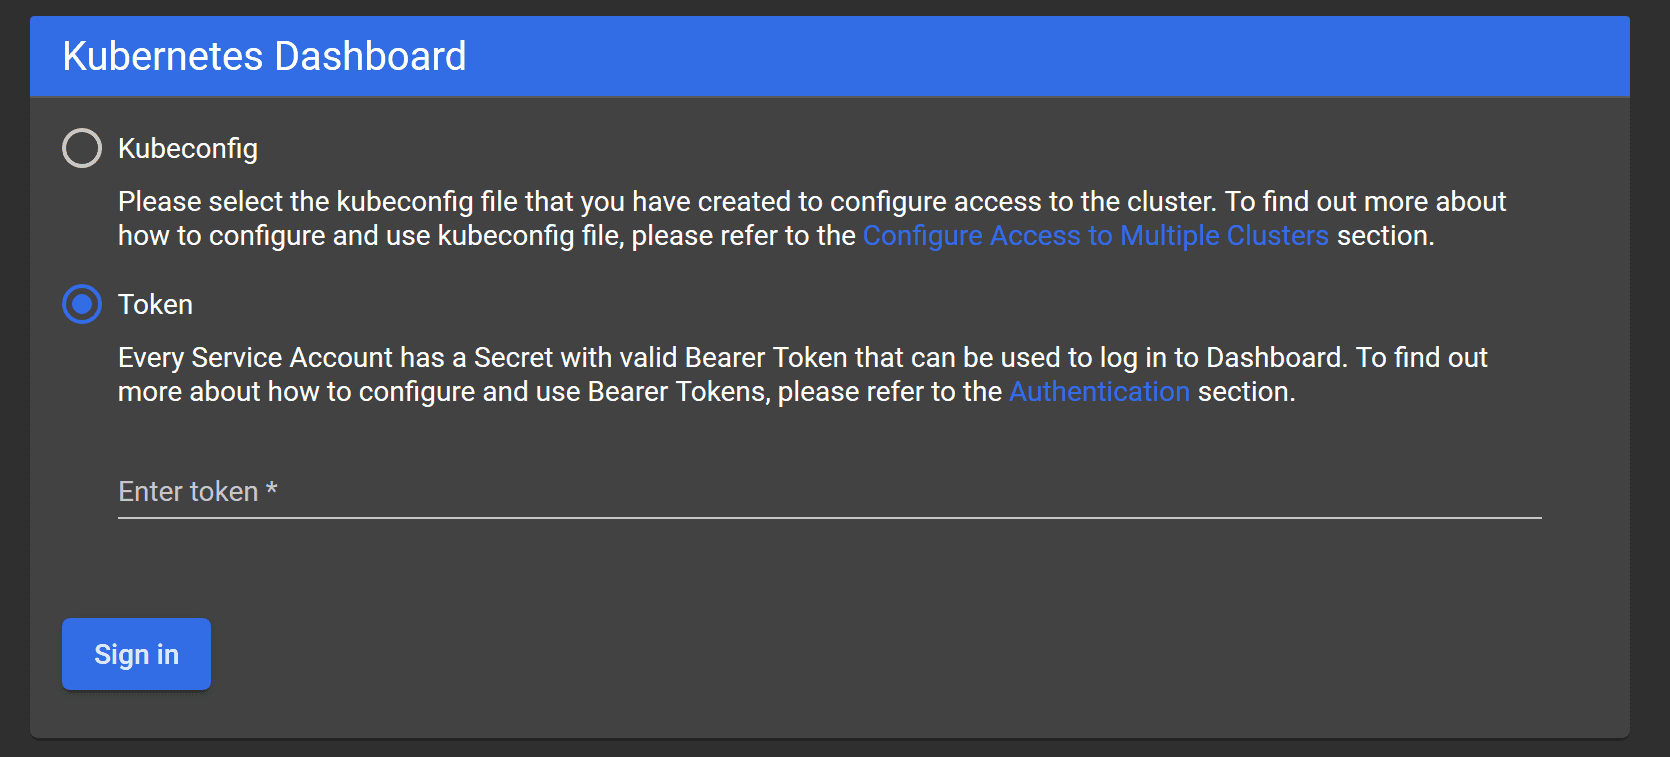
One method to login is by a token. The token may be found by running these two commands on the master node.
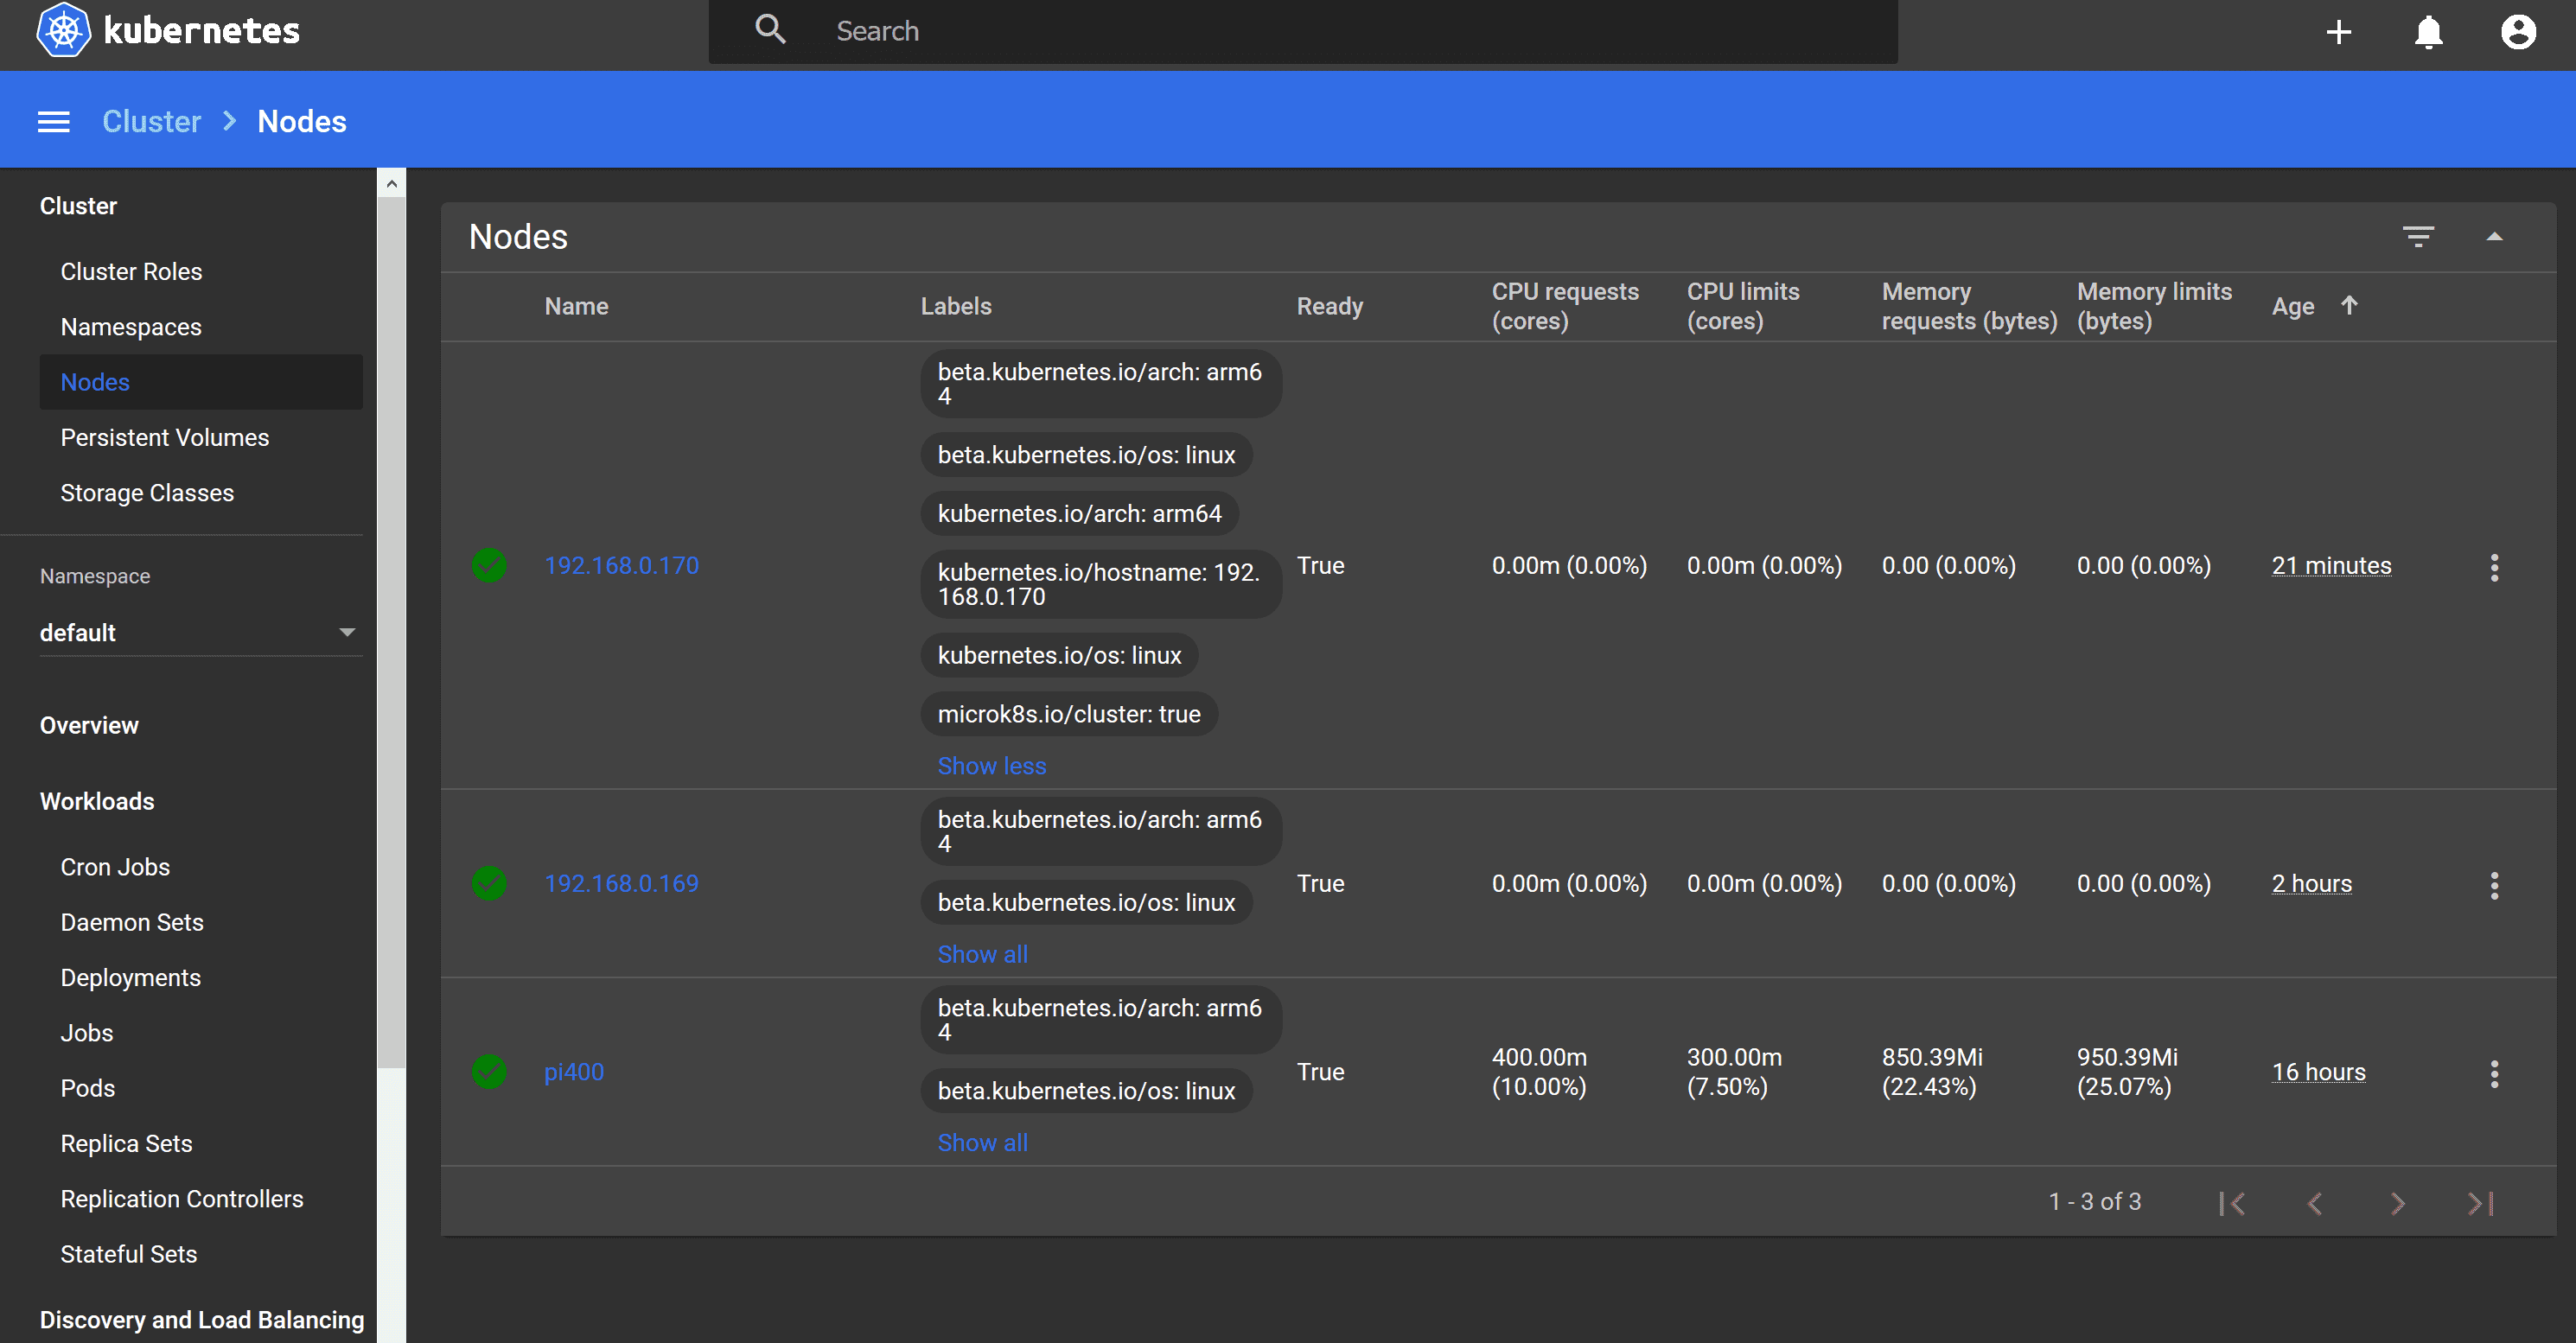
token=$(microk8s.kubectl -n kube-system get secret | grep default-token | cut -d " " -f1)microk8s.kubectl -n kube-system describe secret $tokenOnce logged in, click on “Nodes” on the menu on the left. Your cluster may have more or less nodes depending on how many Raspberry Pis that you’ve setup.
Summary
I have a working Raspberry Pi MicroK8s cluster. As shown in the picture below, it badly needs better organization and to be cleaned up. I’m not sure what my next steps will be. Better security and cable management are probably good places to start.